
Pretty Product Options turns a normal Shopify product into a configurator: shoppers pick sizes, materials, add-ons and personalisation, watch the price update live, and check out through your normal Shopify checkout. You don't need any code — here's the whole journey.
1. Create a template
A template is the set of questions shoppers answer — its sections, options and prices. One template can power many products.
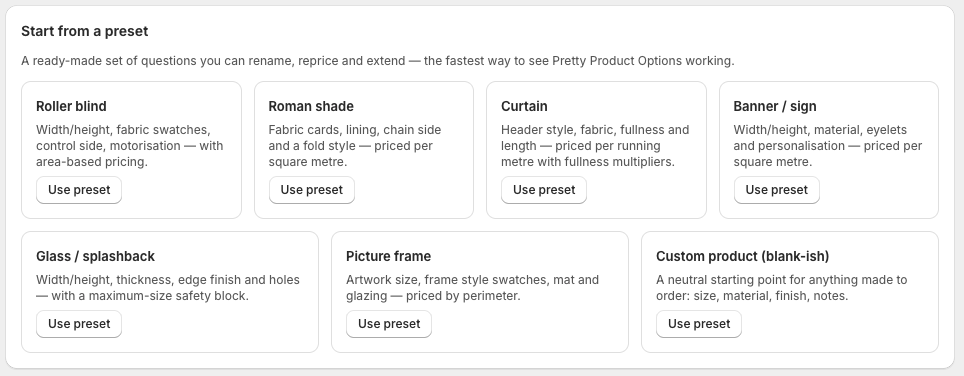
Go to Templates and either pick a preset — blinds, curtains, banners, glass panels, picture frames, or a neutral "custom product" starter, each with sensible sections, options and pricing you can edit — or create a blank one and add your own.
2. Add sections and options
Sections group related options ("Size", "Fabric", "Extras"). Inside each section, add options:
- Single choice — dropdowns, chips or swatches (fabrics, colors, frame types)
- Multiple choice — checkboxes for add-ons
- Number / Range slider — widths, heights, quantities
- Text / Textarea — personalisation, engraving
- Date / File upload — delivery dates, artwork
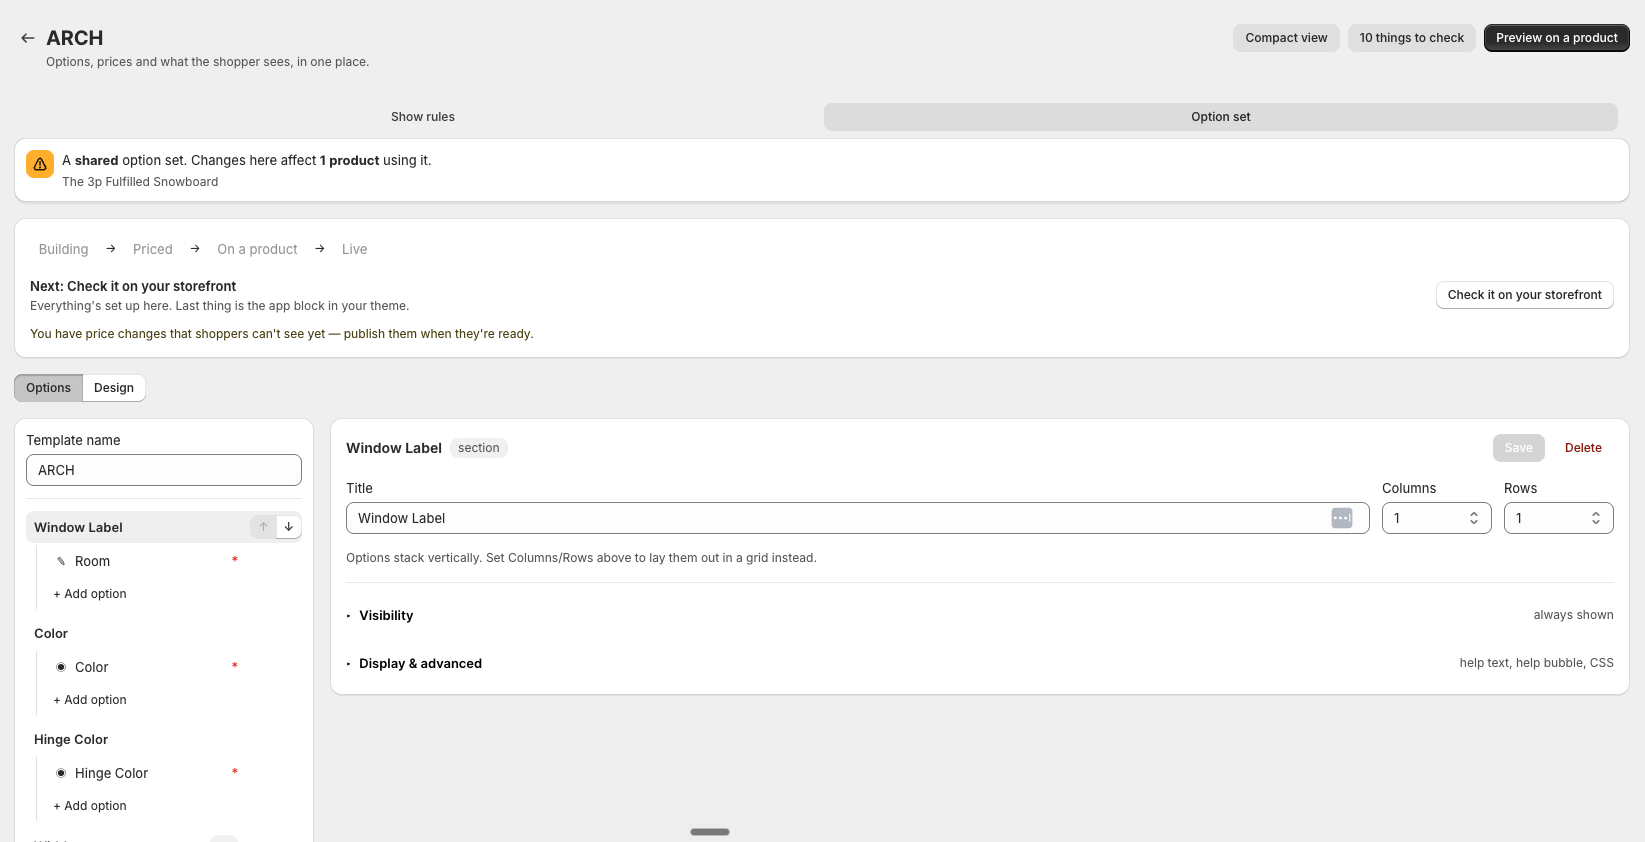
Every option and choice can have an image, a tooltip (with pictures — great for explaining what a "Z-frame" is), and its own price.
3. Set up prices
Open your template's Pricing tab and click Set up prices. Add rules top to bottom:
- Start with a Flat charge for your base price (e.g. $89).
- Add whatever your pricing needs: Price by size for per-square-metre rates, Price bands for size brackets, Multiply the subtotal for things like motorisation (+25%).
Use the test panel on the same page: pick a sample configuration, click Compute price, and check the math before anything goes live.

When it's right, click Publish. Shoppers only ever see published prices — you can edit drafts anytime without touching your storefront.
4. Connect a product
Go to Products, find the Shopify product, and connect it to your template. The product keeps its normal Shopify listing — the app adds the configurator on top.
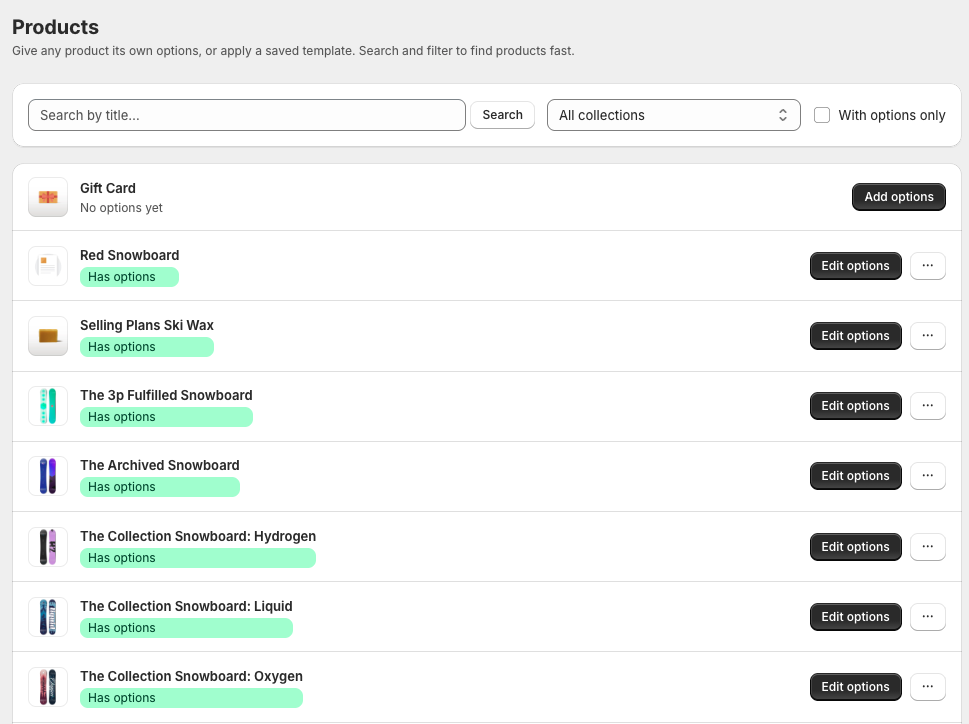
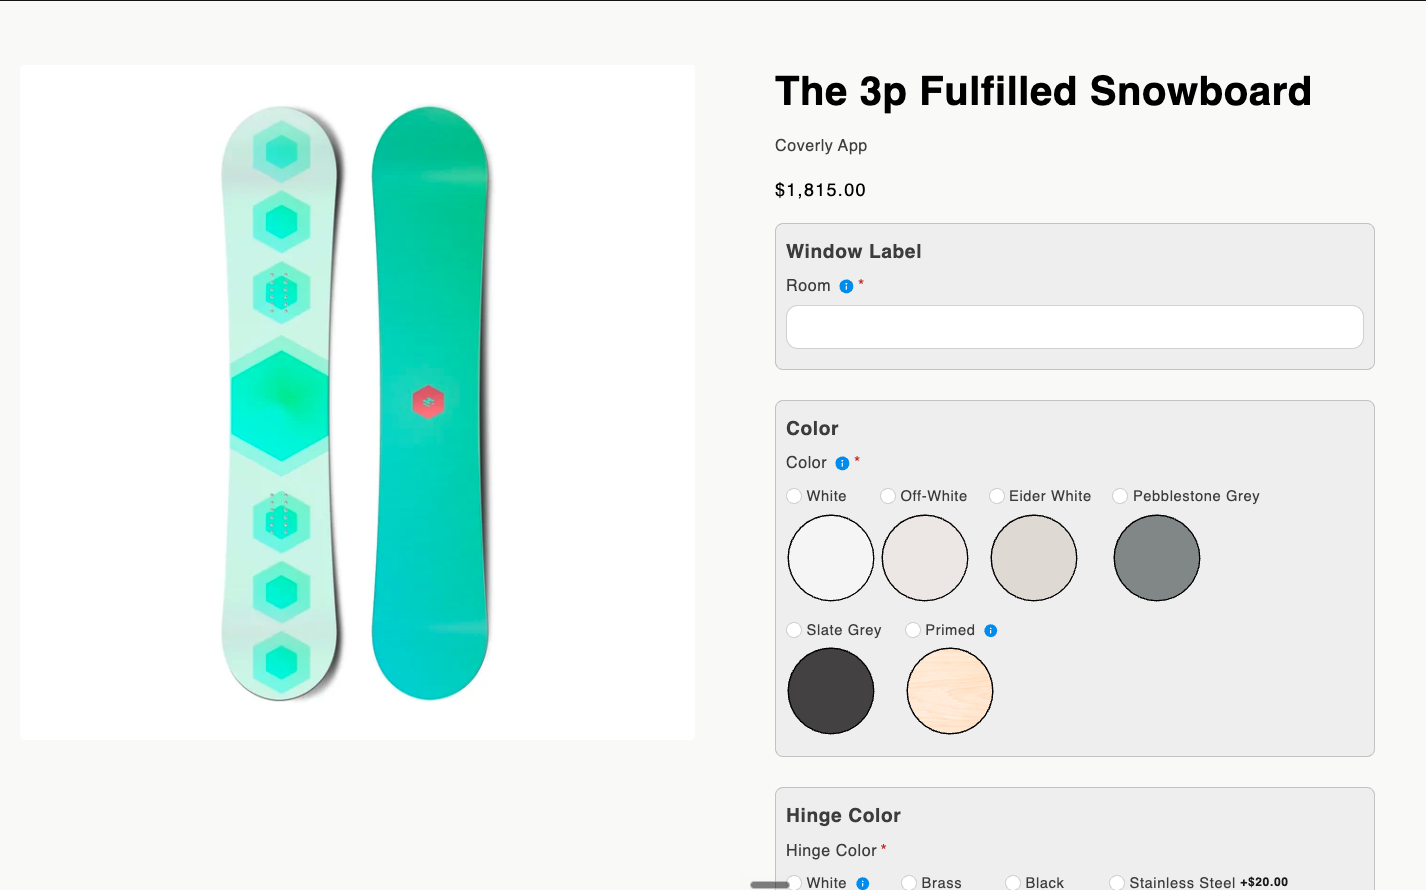
Once connected, hit Preview on the product row — you'll see the exact configurator shoppers will get (including draft prices, before you publish), safely inside the app.
5. Add the configurator to your theme
On the Home screen, the setup checklist has an Open theme editor button — it opens Shopify's theme editor with the app's configurator block already selected. Place it on your product page and hit Save.
6. Try it yourself
Open one of your connected products on your storefront. Configure it, watch the price, add it to the cart, and run a test checkout. The configured details appear on the cart line and on the order — exactly what you'll see when real orders come in.
Stuck on any step? The Home screen checklist shows what's done and what's left, each with a button that takes you to the right place. And the Troubleshooting page covers the common hiccups.